The Secret for Smudge Proof Makeup
Achieving a flawless makeup look is an art, and when it comes to makeup that's smudge-proof and long-lasting, the technique becomes even more crucial. Today, I'm excited to share my tried and tested makeup routine, a step-by-step guide that ensures your makeup stays impeccable all day without smudging or budging. With the right products and a little patience, you can achieve a makeup look that withstands the elements. Let's dive into my go-to technique!
Step 1: Prep & Prime Skin (Elf Hydro Grip)
The key to smudge-proof makeup starts with a flawless canvas. I begin by applying my favorite moisturizer, and then I reach for the Elf Hydro Grip Primer. This primer not only hydrates your skin but also provides a perfect grip for the foundation, ensuring it stays in place all day. I apply it evenly and wait a minute or two for it to set.
Step 2: Lightweight/Longwear Foundation
I choose a lightweight, long-wearing foundation that matches the clients skin tone. This foundation acts as the base for the makeup. I apply it evenly using a makeup sponge or brush, focusing on areas that need more coverage. Then, I blend it outwards for a seamless finish.
Step 3: Concealer, Cream Contour, & Liquid Blush
Concealer is my secret weapon for hiding imperfections and ensuring a flawless finish. I apply it under the eyes, on blemishes, and any other areas that need extra coverage. Next, I add dimension with cream contour. I blend it along the cheekbones, jawline, and the sides of the nose for a sculpted look. I don't forget to add a pop of color with liquid blush on the apples of the cheeks.
Step 4: Bake Cream Products, Then Prime Eyelids (Anastasia Hills Lid Primer)
To prevent creasing and smudging of eye makeup, it's time to bake. I use a loose setting powder to set my cream products, concentrating on the areas where I applied concealer and cream contour. While the powder sets, I prime the eyelids with the Anastasia Beverly Hills Lid Primer to create a smooth and smudge-proof base for eyeshadow.
Step 5: Wipe Setting Powder Away Then Complete with Finishing Powder for the Contour & Concealer & Blush.
Once the setting powder has done its job, I gently wipe away the excess with a clean brush or makeup sponge. This step helps prevent a cakey finish. Now, I apply a finishing powder to the areas where I applied concealer, cream contour, and blush. This locks everything in place and gives a beautifully sculpted appearance.
Step 6: Set the Base with a setting spray (Makeup Forever Setting Spray)
To make the makeup long-lasting, I set the entire base with a setting spray. The Makeup Forever Setting Spray is an excellent choice for this purpose. I give a few spritzes, holding the bottle about 10 inches away. This step helps the makeup withstand heat, humidity, and long hours without smudging.
Step 7: Set the Eyes and Lips
Now that the base is locked in place, it's time to complete the eye makeup and lips. I apply the eyeshadow, eyeliner, mascara, and lipstick as desired. Then, I set them with another round of setting spray to ensure they remain smudge-proof.
Step 8: Blot in the Setting Spray with a Beauty Blender (Real Techniques)
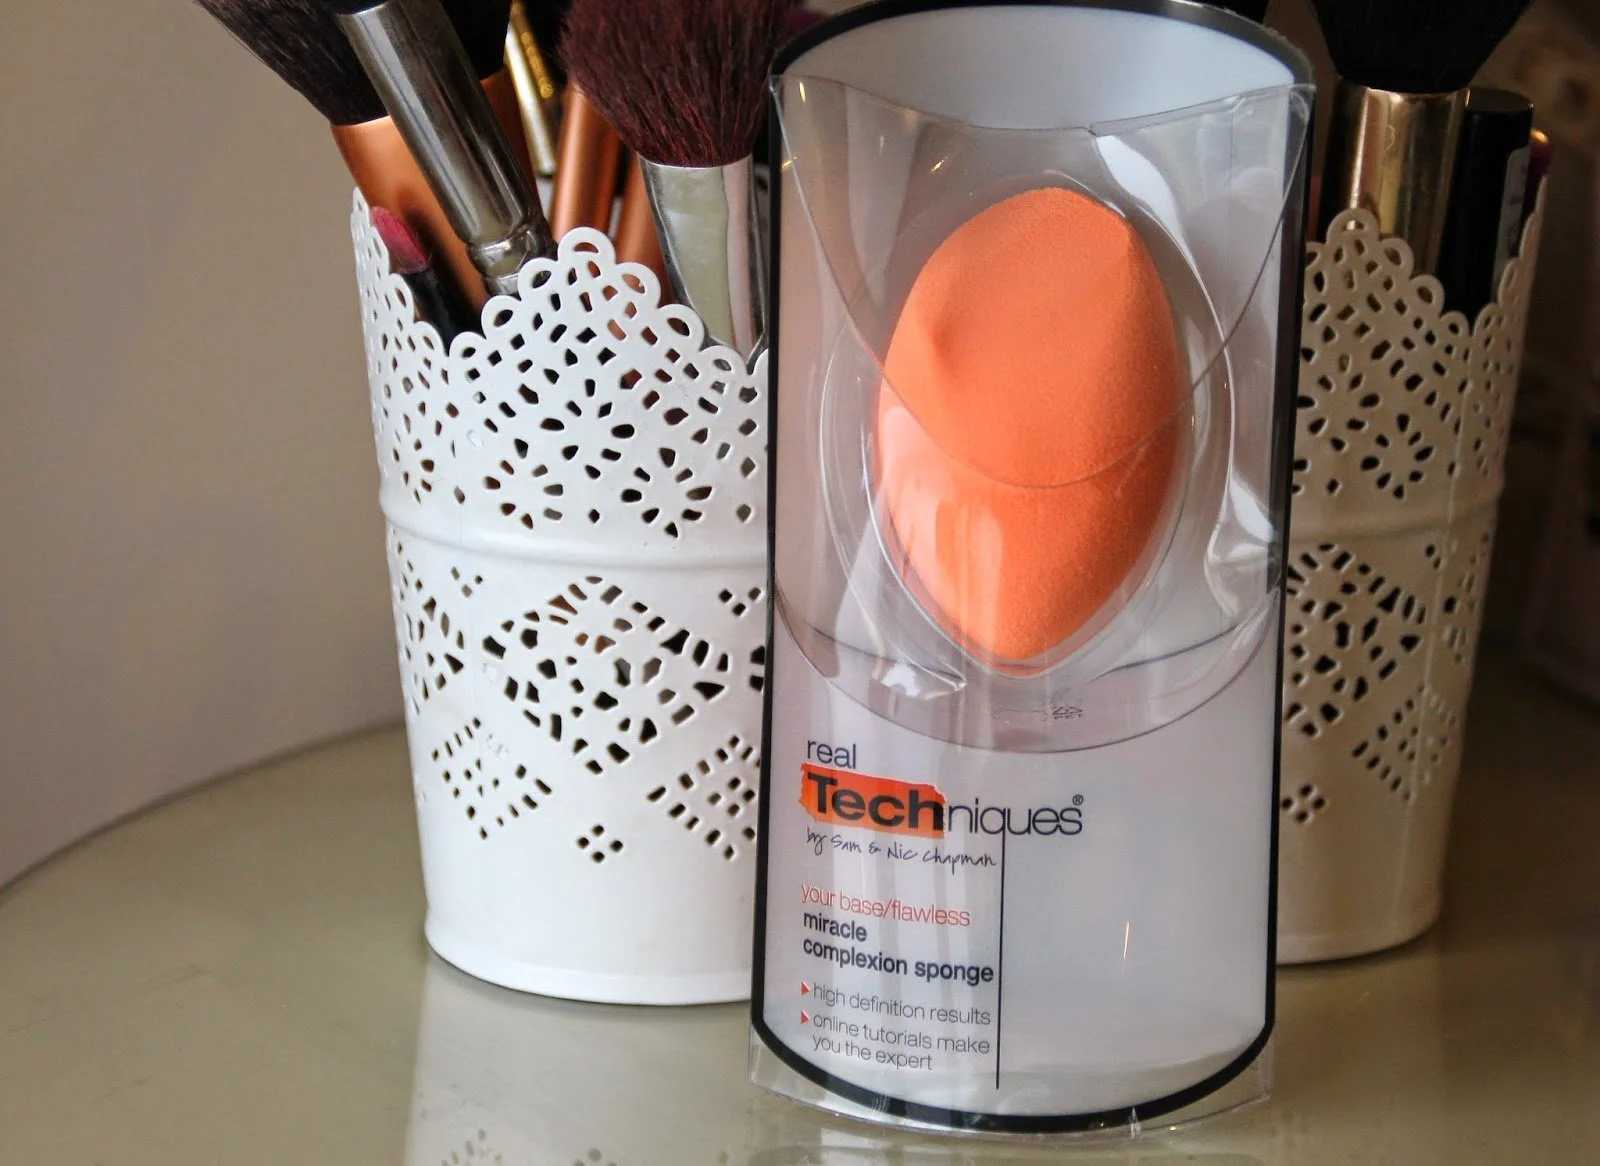
To ensure the setting spray sets evenly and doesn't leave any excess moisture, I gently blot it in with a damp Real Techniques beauty blender. This step also gives skin a natural, dewy finish.
Conclusion:
And there you have it – my step-by-step technique for achieving smudge-proof, long-lasting makeup. With the right products and this meticulous routine, you can confidently step out knowing that your makeup will stay impeccable throughout the day without smudging or budging. Makeup is an art, and with this technique, you'll have the confidence to wear your masterpiece with pride. Happy glamming!


